Blog
Ductwork Evaluation Checklist: What Techs Check First

Your air ducts play a major role in keeping your home comfortable and energy efficient, but they’re often overlooked until a problem appears. A professional ductwork evaluation checklist helps identify leaks, restrictions, and insulation issues that can waste energy and affect indoor comfort. When an HVAC technician inspects your system, they follow a series of steps to measure performance and pinpoint problem areas before recommending repairs or sealing.
Why a Ductwork Evaluation Matters
Ducts are the distribution system for your heating and cooling equipment. If they’re leaking or improperly sized, your air conditioner and furnace have to work harder to deliver the same results. That extra strain leads to higher energy bills, uneven room temperatures, and poor indoor air quality. Regular duct inspections are especially important in Florida, where high humidity and attic heat can cause duct materials to deteriorate more quickly.
A full evaluation not only identifies leaks but also improves system balance and efficiency. It’s one of the easiest ways to boost comfort and cut energy waste without replacing major HVAC components.
Step 1: Visual Inspection of the Duct System
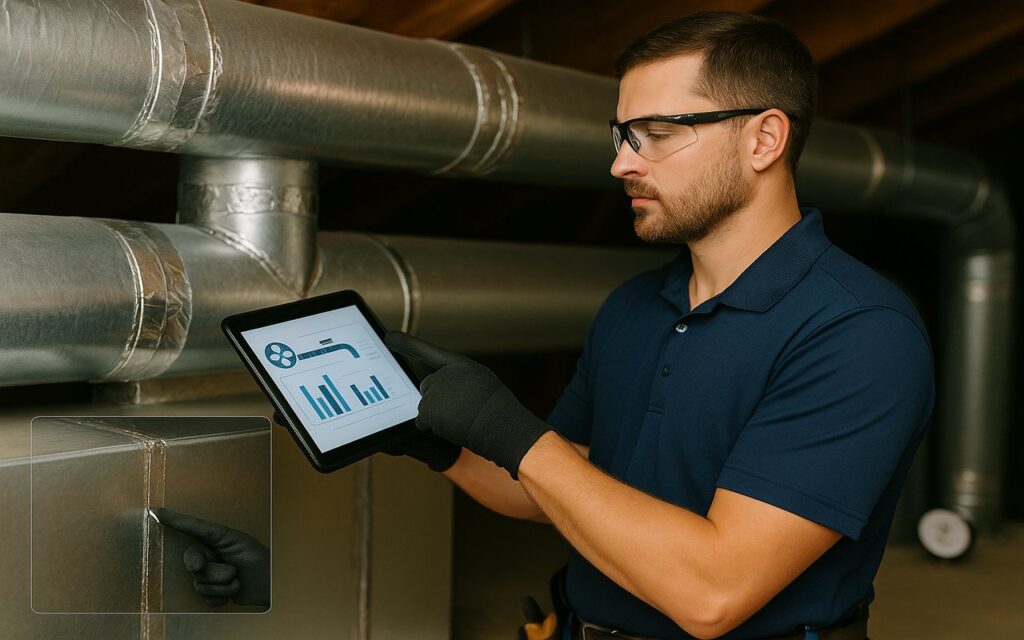
The first step on any ductwork evaluation checklist is a detailed visual inspection. Technicians look for obvious damage, loose connections, or crushed sections that can restrict airflow. In older homes, metal ducts may have gaps or separated joints, while flexible ducts might sag or kink, reducing the system’s efficiency.
During this stage, your technician also checks for:
- Torn or deteriorated duct insulation
- Poorly supported duct runs in attics or crawl spaces
- Unsealed joints or connections around supply and return trunks
- Signs of condensation or moisture damage that could indicate air leaks or temperature imbalance
Step 2: Airflow and Static Pressure Testing
Once the ducts are visually inspected, technicians measure airflow and pressure within the system. Using specialized tools, they compare the pressure drop across the ducts to manufacturer guidelines to ensure air is moving efficiently.
If readings are too high, it could signal a blockage, undersized ducts, or restrictive filters. If they’re too low, it often means leaks or disconnected ductwork. Identifying these patterns helps target where the system loses performance.
Step 3: Leak Detection and Sealing Assessment
Air leakage is one of the most common and costly duct issues. Even small gaps at seams or fittings can cause up to 20–30% of conditioned air to escape into attics or wall cavities. That’s cooled air you’re paying for but never feel inside your living space.
Technicians use pressure testing and sometimes smoke pencils or thermal cameras to find hidden leaks. Once identified, they’ll evaluate whether sealing is best done with mastic, metal tape, or aerosol sealant systems. Proper sealing improves efficiency, reduces dust, and helps balance temperatures throughout the home.
Step 4: Return Duct and Filter Rack Evaluation
The return side of your duct system is just as important as the supply side. A clogged filter rack or undersized return duct can choke airflow and overwork your system. Technicians ensure the filter rack fits tightly and seals against the cabinet so air doesn’t bypass the filter. They’ll also inspect the return plenum for leaks or improperly connected flex duct that may pull unfiltered attic air into the system.
These small corrections can make a big difference in system performance and indoor air quality.
Step 5: Insulation and Thermal Protection Review
Poor duct insulation allows cold or warm air to escape before reaching your vents. In Florida attics, this loss is especially significant because ducts are surrounded by extreme heat most of the year. A professional evaluation includes checking insulation thickness, coverage, and material condition to ensure the ducts stay protected.
If insulation is missing, damaged, or compressed, technicians will recommend replacement or rewrapping. This step helps stabilize temperatures, lower energy costs, and prevent condensation buildup that could lead to mold.
Step 6: System Balance and Air Distribution Check
Once leaks and restrictions are identified, technicians assess air balance across the system. They use airflow readings at each register to verify that rooms are receiving the right volume of conditioned air. Adjustments may involve damper tuning, duct resizing, or diffuser upgrades to achieve even comfort throughout the home.
Balanced airflow reduces strain on the blower motor and helps prevent hot or cold spots between rooms.
Step 7: Final Report and Recommendations
After completing the ductwork evaluation checklist, your technician provides a full report outlining findings, efficiency losses, and repair options. Depending on your system’s age and condition, they may recommend sealing, insulation upgrades, or duct redesign to meet current building standards. This detailed summary gives you a clear picture of where your HVAC system is losing efficiency and how to fix it cost-effectively.
Schedule Your Ductwork Evaluation Today
If your home has uneven temperatures, high energy bills, or visible dust around vents, it may be time for a duct inspection. FL-Air Heating & Cooling provides professional duct evaluations and sealing services designed to improve efficiency, comfort, and air quality. Call us today at 813-800-2665 to schedule your ductwork evaluation and learn how a properly sealed system can make your home more comfortable and energy-efficient.


